Crochet Skeleton Pattern (Easy Amigurumi Halloween Skeleton)
Free amigurumi skeleton crochet pattern with simple bone details — a fun, original Halloween decoration or toy.
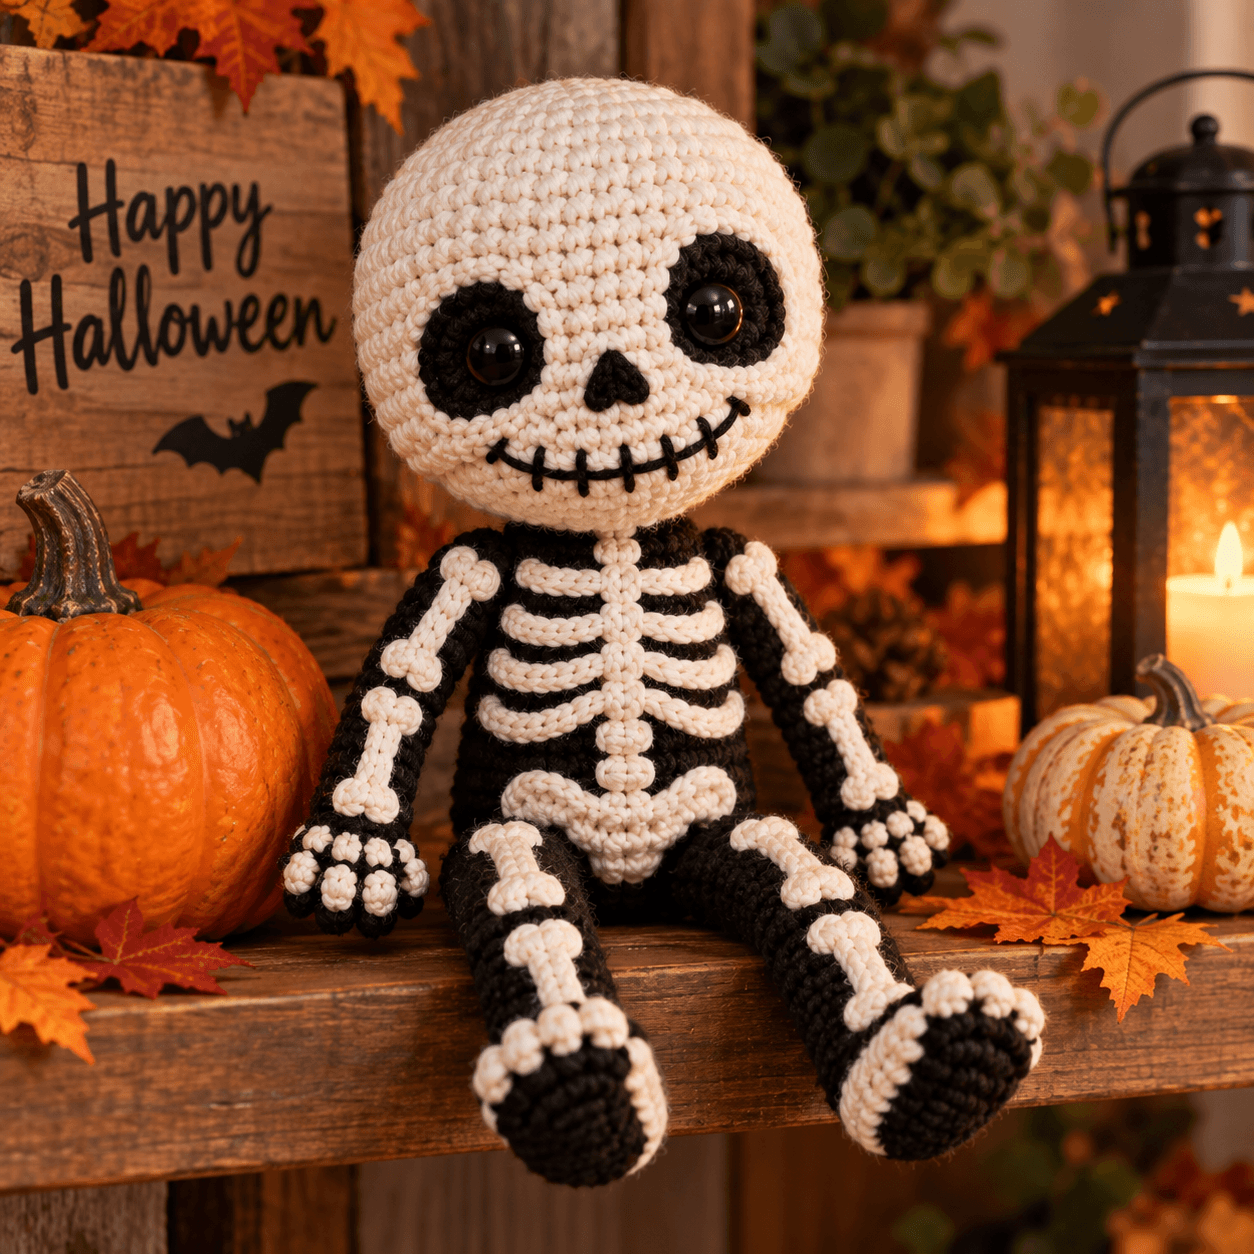
This friendly skeleton is built from simple round and tube shapes with embroidered bone lines, giving it a cheerful, cartoonish look rather than anything scary.
Materials
- White or off-white worsted weight yarn (about 35g)
- Small amount of black yarn for facial features and joint details
- 3.5mm crochet hook
- Fiberfill stuffing
- Yarn needle
Abbreviations
- MR — magic ring
- sc — single crochet
- inc — increase
- dec — invisible decrease
- st(s) — stitch(es)
Head
- MR, 6 sc in ring (6)
- inc around (12)
- (1 sc, inc) around (18)
- (2 sc, inc) around (24) 5–9. sc around (24) — 5 rounds
Embroider two large black oval eye sockets and a simple triangular nose between rounds 5-6.
- (2 sc, dec) around (18)
- (1 sc, dec) around (12)
Stuff firmly.
- dec around (6)
Fasten off, leaving a tail. Embroider a row of short horizontal stitches below the nose for the classic skeleton "teeth" smile.
Body
- MR, 6 sc in ring (6)
- inc around (12)
- (1 sc, inc) around (18) 4-8. sc around (18) — 5 rounds
- (1 sc, dec) around (12)
Stuff, then fasten off leaving a tail. Sew the head to the top of the body.
Embroider a row of curved "rib bone" lines across the front of the body using black yarn, in a stacked arch pattern.
Arms and Legs (make 4 total)
- MR, 5 sc in ring (5) 2-10. sc around (5) — 9 rounds
Fasten off leaving a tail. Lightly stuff. Embroider small evenly-spaced ring marks along the length of each limb to suggest joints. Sew two to the top sides of the body as arms and two to the bottom as legs.
Hands and Feet (make 4)
- MR, 5 sc in ring (5)
- sc around (5)
Fasten off, stuff lightly, and sew to the ends of each limb.
Finishing
Weave in all ends. Add a small bow tie or hat for extra personality if desired.
Tip: keep the embroidered "bone" lines simple and evenly spaced — a few clean curved stitches read more clearly as a ribcage than dense detailed lines.
More amigurumi patterns
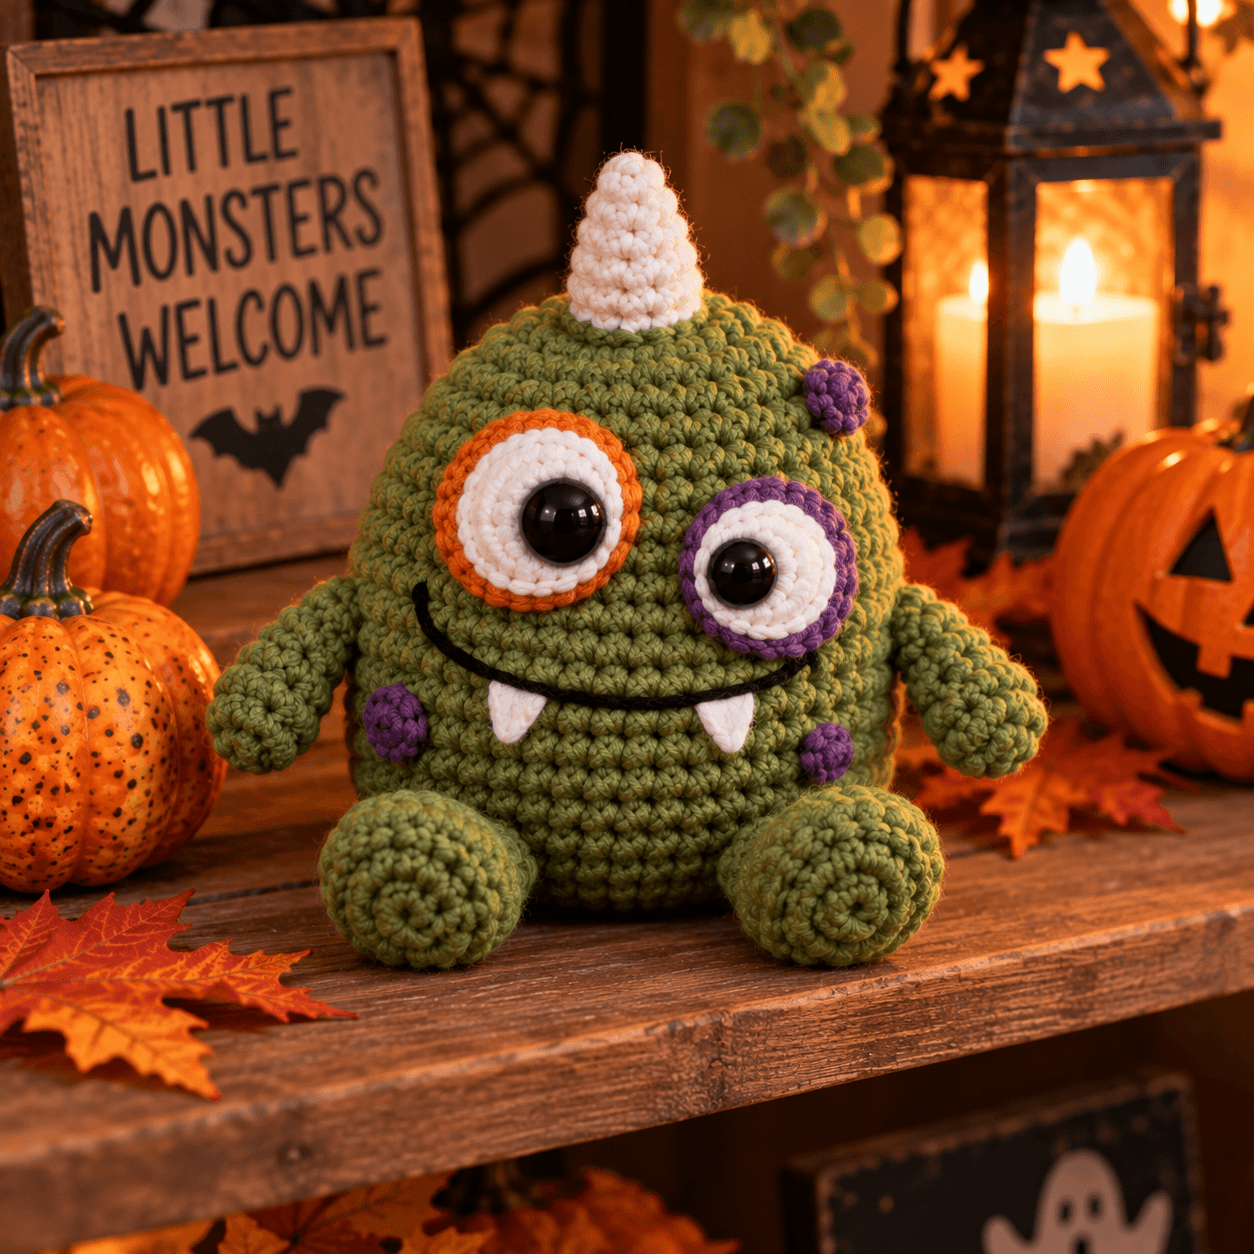
Crochet Green Monster Pattern (Easy Amigurumi Halloween Monster)
Free amigurumi green monster crochet pattern with a fuzzy tuft and a friendly grin — an original, cheerful Halloween-themed plushie.
2 min read
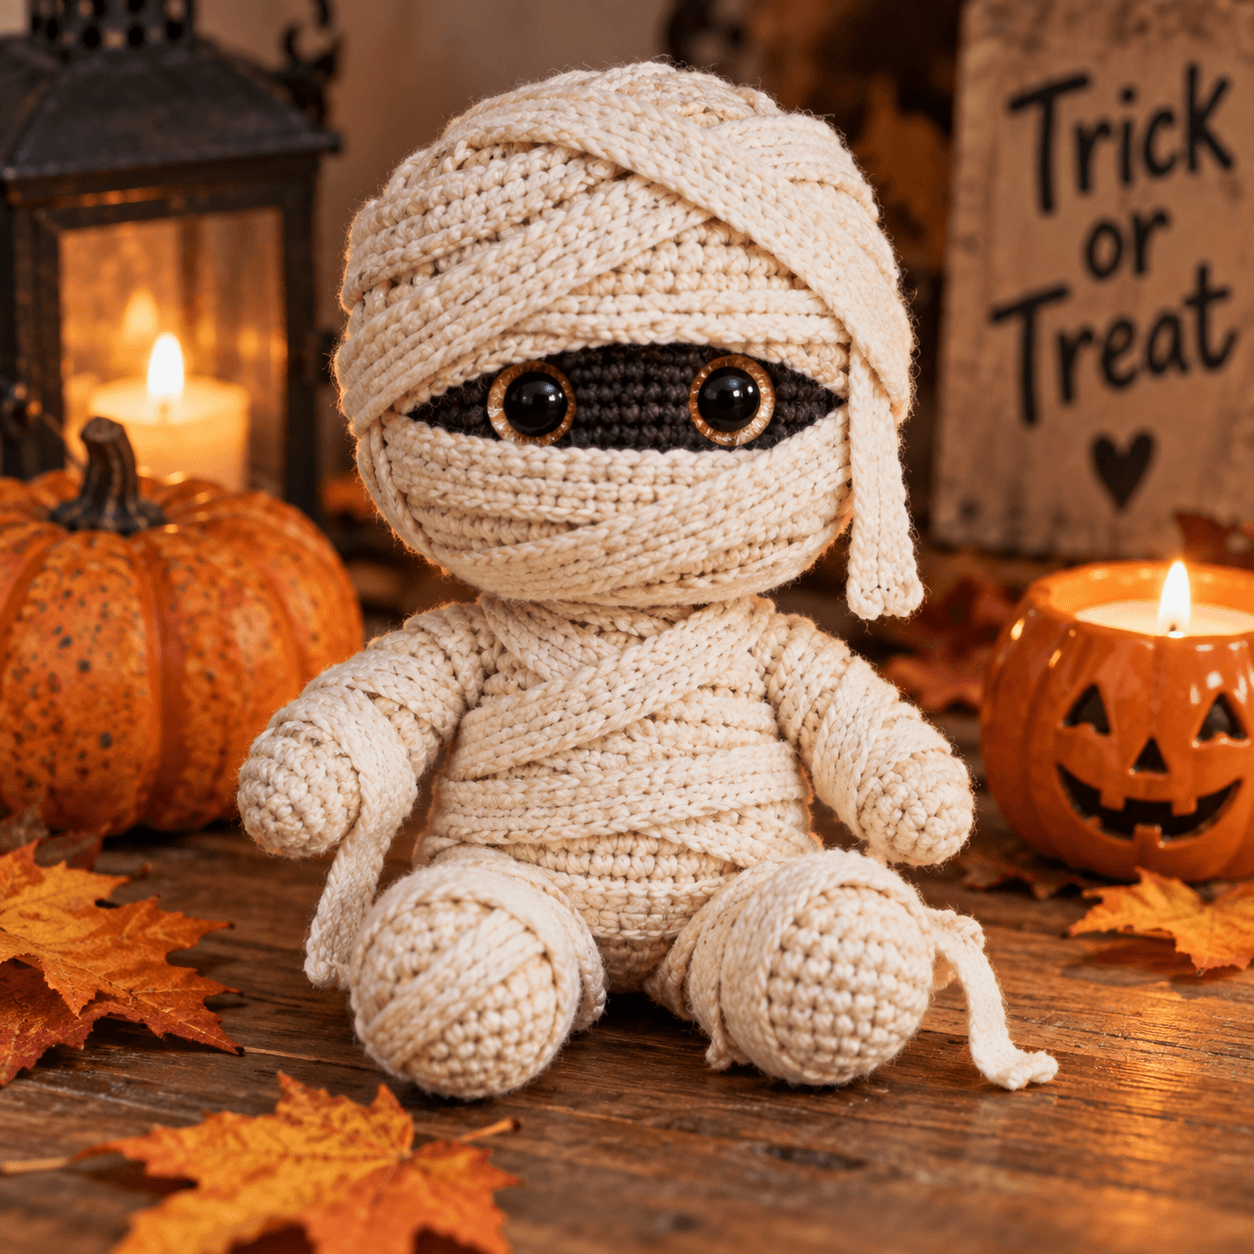
Crochet Mummy Pattern (Easy Amigurumi Halloween Mummy)
Free amigurumi mummy crochet pattern wrapped in crocheted bandage strips — a fun, quick Halloween decoration or toy.
2 min read
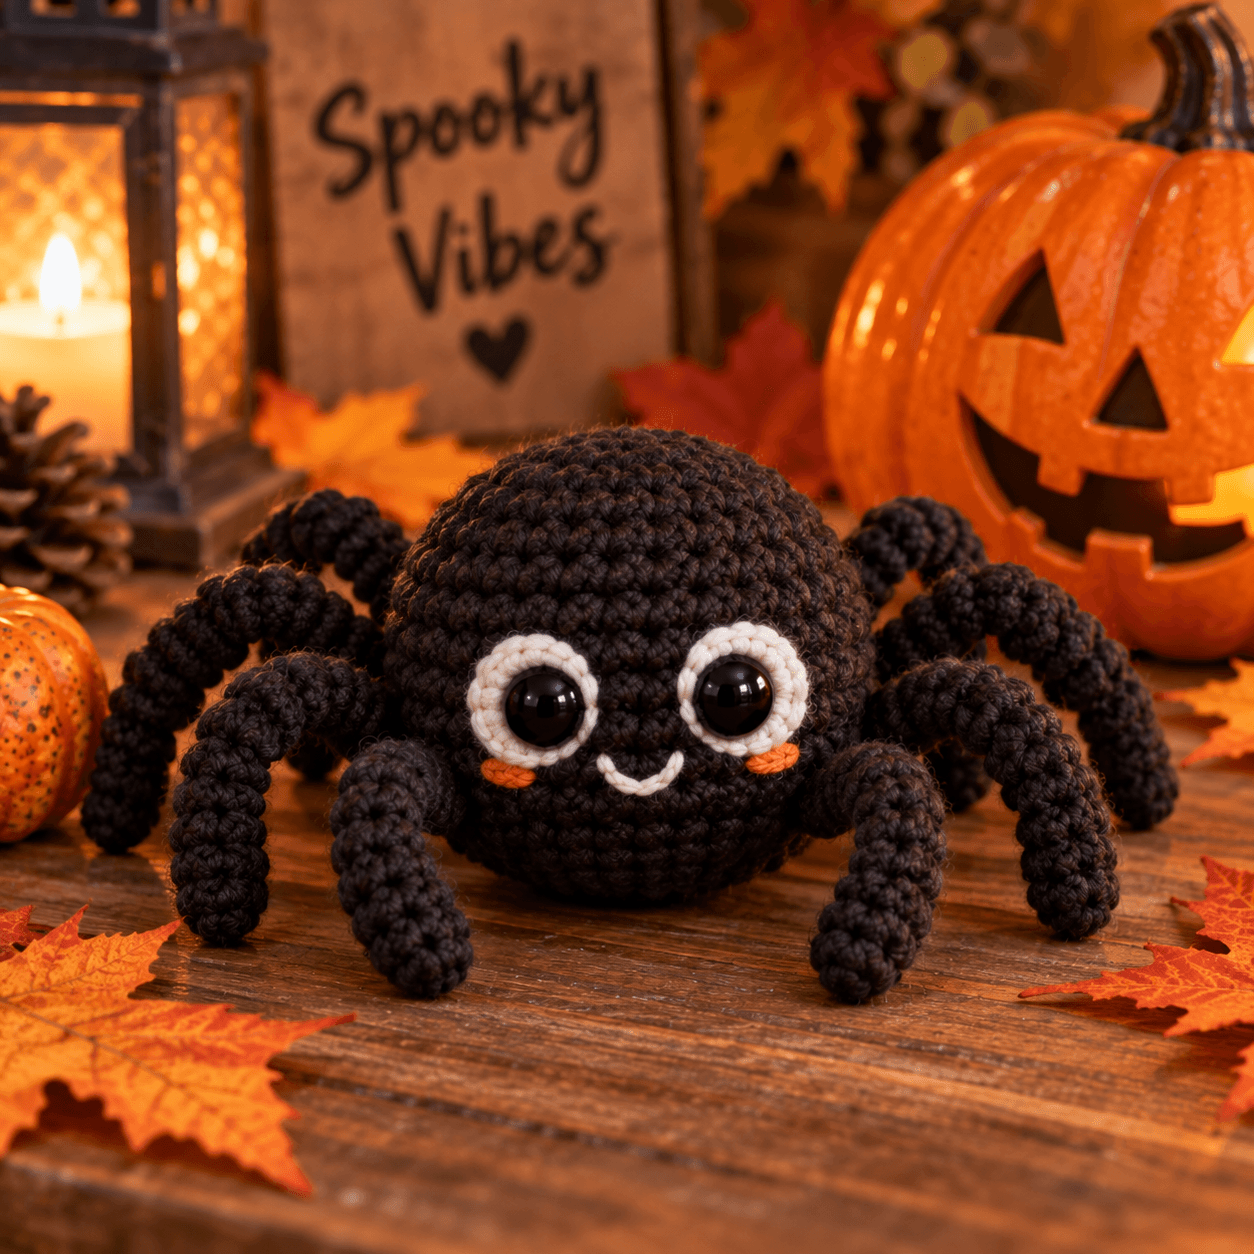
Crochet Spider Pattern (Easy Amigurumi Halloween Spider)
Free amigurumi spider crochet pattern with eight simple legs — a quick, beginner-friendly Halloween decoration.
2 min read